Continuous deployment on a budget
Published 03 December 2019
In a corporate environment continuous deployment pipelines tend to get very complicated very fast. The sheer number of tools in use can be staggering: docker, kubernetes, helm, flux and terraform are all commonplace now. If your working on a small side project all this can be overkill. Luckily, it’s easy to set up something simple and free.
In this post we’re going to set up a continuous integration and continuous deployment pipeline for a node.js app using Travis and PM2.
Continuous integration
Travis is a widely used continuous integration service that is simple to use, and most importantly, free for open source projects.
Configuration
The first step is to add a .travis.yml configuration file to your repository. A basic example for a node.js app would be:
language: node_js
node_js:
  - 12
install: npm install
scripts:
  - npm test
This configuration pretty straight forward, Travis will check out the code from GitHub, run npm install and then npm test. If both these commands exit normally then the build will be a success.
It’s also possible to test against multiple versions of node.js by adding them to the node_js field:
node_js:
  - 12
  - 10
  - 8
Add the .travis.yml to the root folder of your project and push it to GitHub.
Account
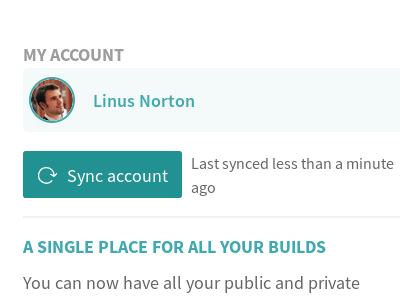
Now that the configuration has been added to your repository it’s time to set up the project in Travis. Go to travis-ci.org and create an account if you don’t already have one. When you sign up it will ask you to authorize the travis app so that it can access your repositories.
Press the plus sign to add a repository:

If your repository is not listed then trigger a scan of your account and it should appear.
Then you can toggle the build to on:

Now when you push changes to master or create PRs Travis will automatically run tests for you. You also get to add a trendy shield to your projects README.md:
[](https://travis-ci.org/<your-org>/<your-repo>)
Continuous deployment
Now that the continuous integration is set up we’re going to modify the .travis.yml configuration to deploy the changes to a server after a successful build, but first we need to create a deployment key so Travis can access the server.
Create a deployment key
You can create a key with this command:
ssh-keygen -t rsa -b 4096 -C "DeployKey"
It will prompt you for a passphrase but you can leave it blank. For the purpose of this example I will assume the key is called deploy but it can be whatever you choose.
Add the key to your server(s):
scp deploy.pub <your-user>@<your-server-ip>:/home/<your-user>/.ssh
ssh <your-user>@<your-server-ip>
cd .ssh
cat deploy.pub >> authorized_keys
You can test the key by logging out of your server and then trying to connect again with:
ssh -i deploy <your-user>@<your-server-ip>
Now we need to give that key read access to the repository. Go to GitHub -> your repository -> settings -> deploy keys and add the contents of the deploy.pub file:
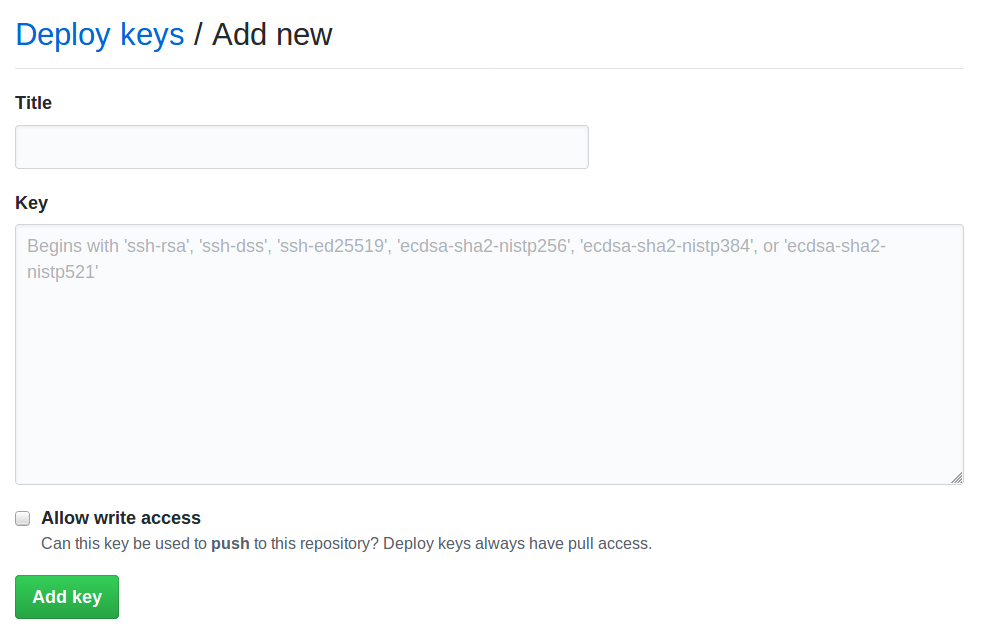
There is no need to add write access.
Add the deploy key to Travis
It’s important not to commit the deploy key to your repository as it will give anyone with that key access to your servers. Luckily, Travis has a mechanism to encrypt the file so that it can use it as part of the continuous deployment pipeline.
To encrypt the key we’ll need to install the travis CLI tool. Note that you will also need to have Ruby installed on your system.
sudo gem install travis -v 1.8.10 --no-rdoc --no-ri
travis encrypt-file ./deploy --add
If you inspect your .travis.yml file you’ll see that some new lines that look similar to:
before_install:
- openssl aes-256-cbc -K $encrypted_ad8ca1f2b447_key -iv $encrypted_ad8ca1f2b447_iv
  -in deploy.enc -out deploy -d
We can test that key by adding an after_success block that will log in to the server and run a command:
after_success:
- eval "$(ssh-agent -s)"
- chmod 600 ./deploy
- echo -e "Host <your-server-ip>\n\tStrictHostKeyChecking no\n" >> ~/.ssh/config
- ssh-add ./deploy
- test $TRAVIS_BRANCH = "master" && ssh -i ./deploy <your-username>@<your-server-ip> pwd
Setting up PM2
Now that Travis has access to the server it’s possible to write a deployment script that will pull the latest code, but restarting the service is a bit more difficult. In order to manage this we can use PM2, a process manager for node.js.
To get started with PM2 we create an ecosystem.config.js file in the root of the project:
module.exports = {
    apps : [{
        name: "Your app",
        script: "npm start",
        env: {
            NODE_ENV: "development",
        },
        env_production: {
            NODE_ENV: "production",
        }
    }],
    deploy : {
        production : {
            "ssh_options": "StrictHostKeyChecking=no",
            "key": "deploy",
            "user": "<your-username>",
            "host": ["<your-server-ip>"],
            "ref": "origin/master",
            "repo": "git@github.com:<your-org/your-repo>.git",
            "path": "/home/<your-user>/<project-name>",
            "post-deploy": "npm install && pm2 startOrRestart ecosystem.config.js --env production",
            "env"  : {
                "NODE_ENV": "production"
            }
        }
    }
};
For the purpose of this example I will assume there is already a npm start script that will start the node.js application but you can put any command in the script field.
We can test the configuration by installing PM2 locally and starting the service:
sudo npm install -g pm2
pm2 startOrRestart ecosystem.config.js
Node.js, git and PM2 need to be installed on the server:
ssh <your-user>@<your-server-ip>

# assuming a Debian/Ubuntu server
sudo apt install git nodejs
sudo npm install -g pm2
The final step is to modify the deployment pipeline so that it pulls the latest code and restarts the app:
after_success:
- eval "$(ssh-agent -s)"
- chmod 600 ./deploy
- echo -e "Host <your-ip>\n\tStrictHostKeyChecking no\n" >> ~/.ssh/config
- ssh-add ./deploy
- npm install pm2 -g
- pm2 deploy ecosystem.config.js production update
Now when you trigger a build the latest code will be deployed to your server and the application will be restarted.
That’s it
Your app is now set up for continuous integration and continuous deployment without using a plethora of tools, and best of all, it doesn’t cost a thing.
There is a lot more you can do with Travis, such as reporting code coverage and running functional tests. If you’re are interested you can see a more complete project that has codecov integration and cucumber tests: